Design Conversion Secrets for ZSK Commercial Embroidery Systems
Introduction
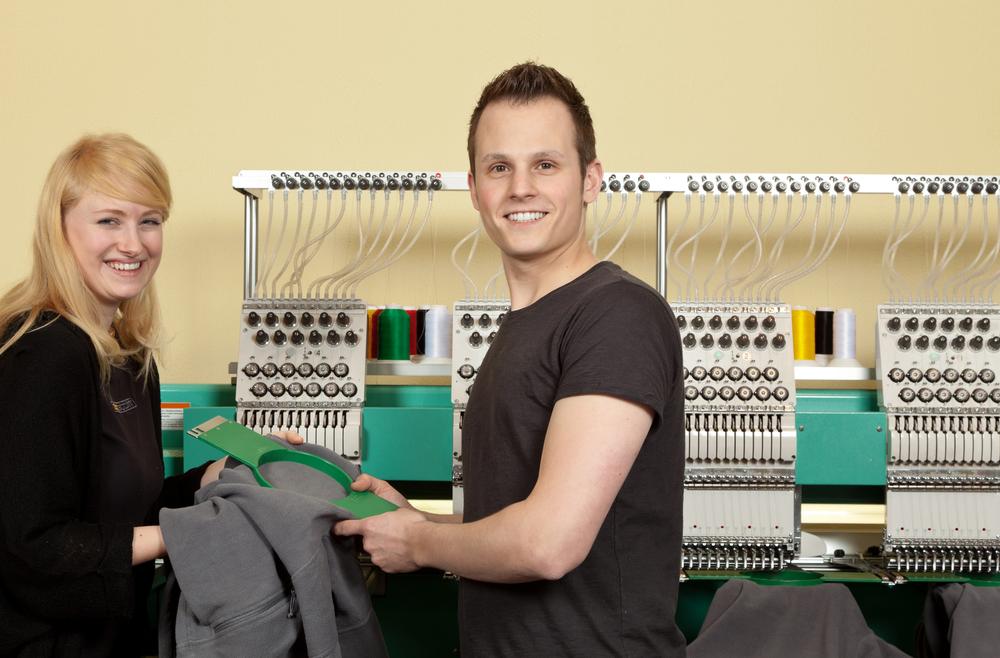
High-volume embroidery shops live and die by speed, precision, and uptime, and nothing disrupts that flow faster than a design that refuses to run cleanly on the machine. Convert Designs for ZSK Embroidery Machines right in the heart of your production process, and you unlock smoother runs, fewer thread breaks, and happier operators who can focus on output instead of troubleshooting. ZSK systems power some of the most demanding commercial jobs out there, from uniforms and workwear to intricate promotional items, so getting your files dialed in matters more than ever. This article shares practical secrets, tools, and techniques that help you prepare designs perfectly for these German-engineered workhorses.
Why ZSK Machines Demand Smart Conversion
ZSK embroidery machines stand apart thanks to their robust build, advanced thread tension control, and multi-head configurations that handle thousands of pieces daily. Their native format, often called ZSK or.Z? (with extensions varying by model and software generation), carries detailed machine-specific data such as exact needle set assignments, pull compensation values optimized for ZSK kinematics, and sequencing tailored to high-speed operation.
Universal formats like DST work in a pinch, but they strip away much of that fine-tuned intelligence. Native files let the machine exploit its full potential—faster sewing, better registration across heads, and reduced wear on parts. When you skip proper conversion or settle for generic exports, you invite common issues: skipped stitches, inconsistent density, or hoop misalignment that wastes expensive blanks.
Essential Software for ZSK-Compatible Conversions
Most pros rely on Wilcom EmbroideryStudio for ZSK work because it offers direct native export along with deep editing capabilities. The software includes ZSK-specific drivers that preserve critical parameters during conversion.
ZSK's own Creator or the newer ZSK Software Suite integrates tightly with the machines, allowing seamless file preparation and even remote monitoring. If your shop already runs ZSK hardware, investing in their proprietary tools often pays off through reduced errors and faster setup times.
For shops handling mixed machine brands, Embird or Pulse Ambassador serve as reliable bridges. Both read almost any incoming format and export cleanly to ZSK-compatible files with adjustable settings for density, underlay, and compensation.
Keep a secondary viewer like TrueSizer Pro handy. It opens ZSK files quickly, checks for basic integrity, and lets you simulate runs without tying up production software.
Preparing Designs Before Conversion
Start every job with solid artwork. Demand vector files (AI, EPS, SVG) from clients whenever possible. Vectors scale without quality loss and trace cleanly into stitch paths.
If you only receive raster images, upscale them in Photoshop or GIMP to at least 300 DPI, sharpen edges, reduce colors to ten or fewer, and remove backgrounds. Clean input dramatically improves auto-digitizing accuracy.
Separate complex elements. Break layered logos into individual components so you can assign optimal stitch types later. For example, keep fine outlines distinct from large fills to avoid density conflicts.
Check size and placement early. Match the design dimensions to your common hoop sizes and consider multi-head registration points from the start.
Step-by-Step Conversion Process
Import your cleaned artwork into the digitizing software. Use auto-trace or auto-digitize to generate an initial stitch map. This first pass usually captures shapes well but requires heavy refinement for commercial-grade results.
Manually edit stitch properties. Increase pull compensation slightly for stretch fabrics, dial in underlay sequences (ZSK responds especially well to contour and lattice combinations), and adjust density to balance coverage with sew time.
Sequence colors thoughtfully. Group similar shades to minimize stops, and assign needle positions according to your machine's threading chart for fastest changes.
Add start and end points optimized for ZSK's jump and trim functions. Place the design start near the center or a logical entry point to reduce float time.
Run multiple simulations. Watch stitch formation, jump lengths, and potential overlap zones. Tweak angles so fills follow fabric grain and satins curve naturally.
Export to the native ZSK format. Select the correct machine model and software version in the export dialog to include all proprietary data. Name files consistently with job number, version, and stitch count for easy retrieval.
Transfer files via network, USB, or direct connection depending on your setup. Always verify the file loads correctly on the machine controller before hooping goods.
Testing and Optimization Secrets
Test every converted design on scrap fabric using the same stabilizer and backing you plan for production. Run at reduced speed first to catch tension or registration quirks.
Monitor thread breaks and adjust tension arms or needle eyes if needed. ZSK machines forgive minor errors better than most, but perfect files still require fine machine tuning.
Document winning settings. Create presets for common fabrics—pique, twill, fleece—so future conversions start from a proven baseline.
For repeat orders, save the final stitch file as a template. Minor color swaps become quick jobs instead of full re-digitizing sessions.
Pro Techniques for Maximum Efficiency
Digitize with production speed in mind. Reduce unnecessary trims by connecting elements where possible, and use efficient fill patterns like tatami over complex alternatives.
Leverage ZSK's advanced features during conversion. Include commands for automatic hoop offset or color change pauses that match your workflow.
Batch conversions for similar designs. Apply uniform density, underlay, and compensation across a batch to cut prep time on large runs.
Use appliqué wherever large solid areas appear. Digitize placement stitches first, then switch to appliqué patches to save thread and add texture.
Keep stitch counts lean. Aim for the lowest effective density that still delivers opacity—lower counts mean faster cycles and less thread cost.
Avoiding Frequent Conversion Pitfalls
Skipping manual review after auto-digitizing leads to choppy satins and uneven fills. Always refine.
Using outdated software versions can omit newer ZSK parameters. Update regularly.
Ignoring fabric stretch during compensation settings causes persistent puckering. Test on actual material.
Forgetting to set correct hoop references results in off-center embroidery on multi-head jobs.
Overlooking file naming conventions creates confusion during high-volume shifts.
Conclusion
Mastering design conversion for ZSK commercial embroidery systems turns potential bottlenecks into seamless production steps. With thoughtful preparation, the right software, careful editing, thorough testing, and a handful of pro tricks, your files run reliably at top speed while delivering the crisp, consistent quality clients expect. Each well-converted design builds momentum in your shop, letting you take on bigger orders with confidence. Next time a complex logo or detailed pattern lands on your desk, apply these secrets and watch your ZSK machines perform at their best. Smooth conversions lead to satisfied customers, repeat business, and a thriving embroidery operation. Get converting and keep those heads spinning productively.