Convert Image to Bernette Embroidery Format: Tips for Perfect Machine Results
So, you've got a fantastic image—maybe a clever logo, your kid's adorable doodle, or a stunning piece of art—and you're dreaming of seeing it stitched out beautifully on your Bernette machine. That’s the magic of modern embroidery: turning almost any visual idea into thread. But that journey from a flat image on your screen to a flawless embroidered design on fabric is where the real craft lies. It's not just a simple click; it's a process of translation, and getting it right means understanding how to convert image to Bernette embroidery format.
Think of it like this. Your image is a photograph, and your Bernette machine reads sheet music. You can’t just hand the photo to the musician and expect a symphony. Someone needs to transcribe the feeling, the shapes, and the colors of that photo into musical notes—or in our case, into stitches, jumps, and thread changes. That "someone" is you, armed with embroidery software and some key knowledge.
Understanding the Language of Stitches
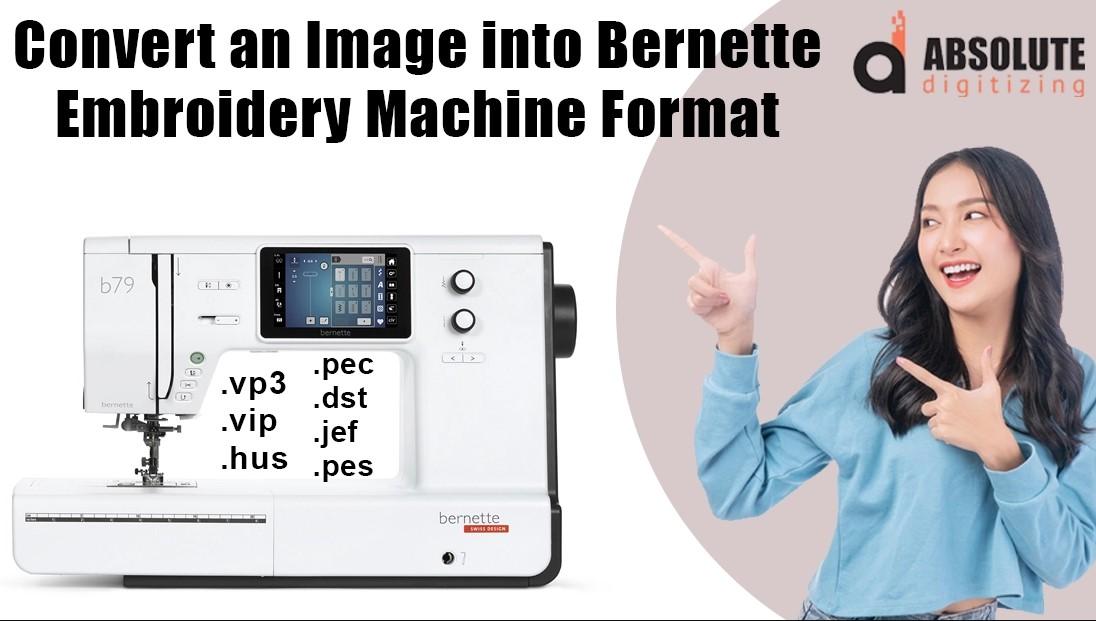
First, let's demystify that target format. Your Bernette machine most happily reads files with a .ART or .ARTX extension. This is a proprietary format packed with specific instructions: where to start stitching, the type of stitch to use, the color sequence, and when to trim the thread. Your starting image—a JPEG, PNG, or BMP—has none of that. It’s just a grid of pixels. The conversion process is about intelligently interpreting those pixels into a logical stitch order that your machine can execute without error.
Choosing Your Starting Image Wisely
Not all images are created equal for embroidery. Setting yourself up for success begins with picking the right candidate.
- Simplicity is Your Best Friend: Clean, bold graphics with clear boundaries convert best. Think logos, simple illustrations, or striking silhouettes. Highly detailed photographs with gradients, shadows, and millions of colors will often become a confusing, thread-heavy mess.
- Contrast is Key: The image should have high contrast between the elements you want to stitch and the background. This makes it easier for your software (and you) to define the edges.
- Size Matters: Start with a reasonably sized image. A tiny, low-resolution icon will pixelate when you enlarge it in your software, resulting in jagged edges. A very large, complex image might create a file with an overwhelming number of stitches.
The Conversion Process: More Than a Button Click
Here’s where the work happens. You’ll use embroidery digitizing software. Some Bernina/Bernette machines come with basic software, while more advanced options are available for purchase. The process generally follows these steps:
- Import and Clean Up: Bring your image into the software. Use the built-in tools to clean it up. Increase contrast, remove stray pixels, and simplify the background. This is like preparing your canvas before painting.
- The Magic of Auto-Digitize (And Its Limits): Most software has an "auto-digitize" or "quick punch" function. It will attempt to automatically create stitch areas from your image. It can be a great starting point for very simple graphics, but never rely on it alone. It often makes poor choices about stitch direction, density, and order.
- Manual Digitizing: The Path to Perfection: This is the skilled part. You’ll manually trace your image, assigning different stitch types to different areas.
- Outline with Satin Stitches: Use a column of satin stitches (closely packed zigzags) for clean, shiny borders and lettering.
- Fill with Tatami Stitches: For larger areas, use tatami or fill stitches (a running stitch that lays down in rows). Here, stitch direction is crucial. Changing the angle of the fill can add texture and strength to the design.
- Underlay is Your Foundation: This is the most important step for professional results. Underlay is a series of foundational stitches sewn first to stabilize the fabric and create a base for the top stitches. It prevents puckering, helps with fabric show-through, and makes your design look crisp. Always add underlay to your fill areas.
Pro-Tips for Flawless Machine Results
Once your design looks good on screen, these tips will ensure it stitches out perfectly.
- Test, Test, and Test Again: Always stitch your new design on a scrap piece of your actual project fabric, stabilized as you intend for the final piece. This reveals issues like puckering, thread breaks, or poor coverage that you can’t see on screen.
- Mind the Stitch Count: More detail means more stitches. Be mindful of your design’s total stitch count, especially for larger projects. A 50,000-stitch design is a big commitment of time and thread.
- Simplify Colors Wisely: Reduce the number of colors in your image to a manageable palette. Each color change means more thread trimming and potential jumps. Can two similar shades be combined?
- Check Your Pathing: Use the software’s simulation mode to watch the stitch order. Look for unnecessarily long jumps (where the needle moves without stitching) across the design. You can often manually adjust the sewing sequence to minimize these and trim machine runtime.
- Adjust for the Fabric: A design digitized for a sturdy denim will behave very differently on a stretchy knit. You may need to adjust the density (making stitches slightly farther apart) or increase underlay for trickier fabrics.
The Final Step: Saving and Stitching
After all your meticulous work, save or export your design in the correct .ART/.ARTX format for your specific Bernette model. Transfer it to your machine via USB or whatever method you use. Hoop your stabilized fabric tightly, match your thread colors to the design’s sequence, and take a deep breath. Hit start. That moment when the needle begins to move, translating your digital creation into tangible thread, is the true reward for the careful work of learning how to convert image to Bernette embroidery format.
Remember, digitizing is an art form in itself. Your first few attempts might not be perfect, and that’s okay. Each design teaches you something new about how stitches interact with fabric and image. Start with simple shapes, embrace the learning process, and soon you’ll be turning your favorite images into beautiful, custom embroidery with confidence. Happy stitching